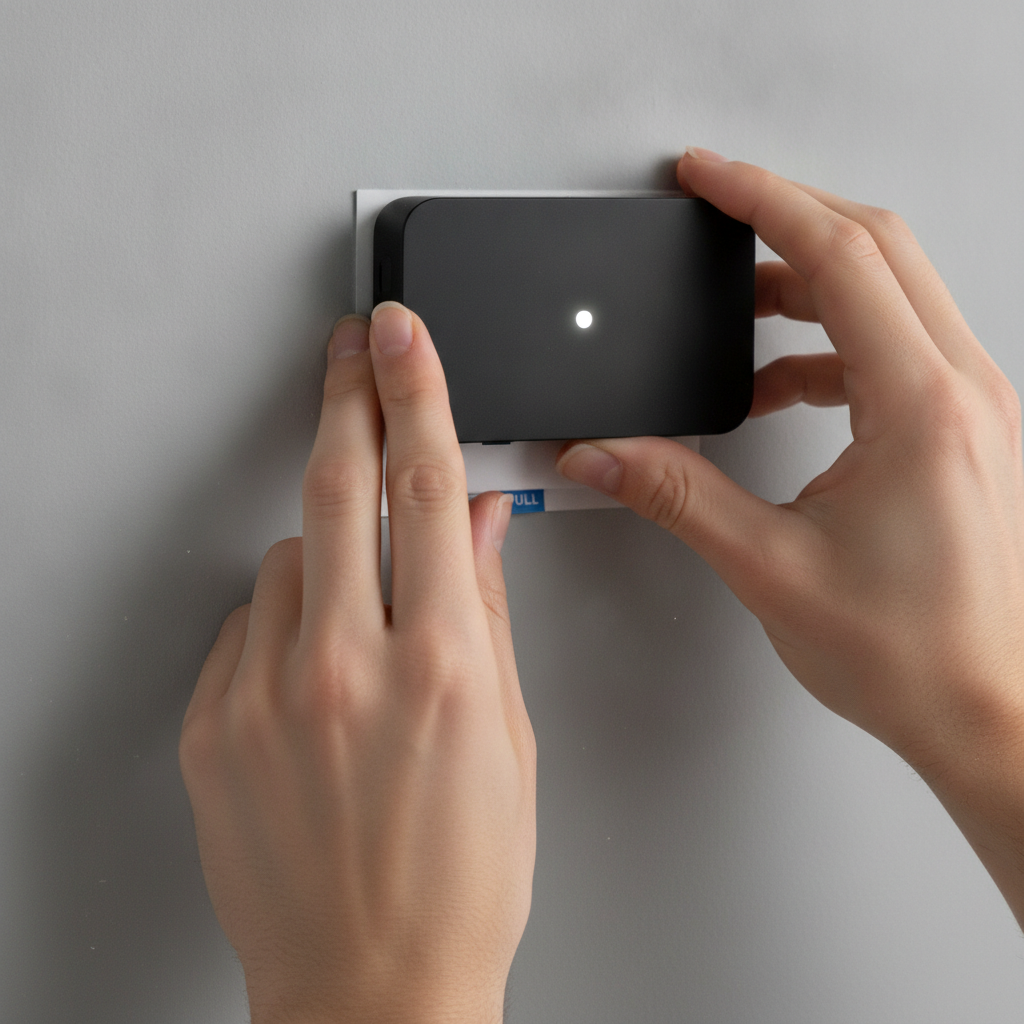
Tired of putting holes in your walls every time you want to hang a picture, mirror, or a new piece of art? In today’s world, there’s a much smarter, less destructive way to adorn your home or office. Gone are the days of reaching for the drill or hammer for every small decor change, especially when modern adhesive solutions offer such fantastic alternatives.
For roughly 95% of common hanging needs – think picture frames, signage, or light decorations – adhesive products provide a clean, damage-free solution. This innovative approach ensures that when you’re ready to redecorate, you won’t be left patching up unsightly holes. It’s all about convenience and preserving the integrity of your walls.
Mastering Command Strips: Your Guide to Damage-Free Hanging
The most popular and reliable solution for hanging items on walls without damage comes from 3M: Command strips. These ingenious adhesive products are specifically engineered to replace nails and screws, offering a versatile way to secure everything from picture frames to keeping cables neatly organized. Understanding their design is key to unlocking their full potential.
At the core of every Command strip product is a non-permanent, stretch-release adhesive foam strip. This unique design effectively distributes the weight of your item across a larger wall area than a single nail ever could, ensuring a secure hold. When it’s time for a change, a simple pull of the tab allows the foam strip to detach cleanly, leaving your wall looking pristine.
However, despite their brilliant design, many people find themselves frustrated when Command strips fail prematurely or, worse, damage their walls during removal. The culprit is often quite simple: not following the instructions. Don’t let common mistakes prevent you from becoming a Command strip expert and enjoying truly damage-free decorating!
Before You Stick: Surface & Strip Selection Are Key
For your Command strips to work their magic, the first crucial step is ensuring you have the right surface. Command strips are specifically engineered for smooth, non-porous surfaces such as painted drywall, finished wood, tile, metal, and glass. Testing an inconspicuous spot is always a smart move to ensure compatibility and prevent any unexpected residue.
One surface you should definitely avoid is wallpaper. 3M explicitly advises against using Command strips on wallpaper, and for good reason. The adhesive often bonds more strongly to the wallpaper itself than the wallpaper does to the wall, leading to unsightly tears and damage upon removal. Always choose a solid, stable surface for the best results.
Beyond surface type, temperature plays a vital role in adhesive performance. Standard indoor Command strips should be applied when temperatures are above 50°F (10°C) and function optimally between 50°F and 105°F (10°C to 40°C). For outdoor projects, specialized outdoor versions of Command strips are available, designed to withstand temperatures ranging from -20°F to 125°F (-30°C to 50°C).
Another critical, yet often overlooked, aspect is selecting the correct Command product for the job. Not all strips are created equal; they come in various types and strengths, from different kinds of hooks and cord clips to specialized picture-hanging strips. Each product has a specific weight rating, ranging from half a pound up to 20 pounds, so always match the strip’s capacity to your item’s weight.
Remember that some weight ratings apply to pairs of Command strips, so always double-check the packaging to avoid underestimating your needs. If you’re using Command products in a humid environment like a bathroom, opt for the water-resistant versions, easily identifiable by their distinctive blue packaging. Choosing the right strip from the start sets you up for success.
The Art of Application & Removal for Flawless Walls
Proper surface preparation is arguably the most crucial step often skipped. Before applying any Command strip, you must thoroughly clean the surface with rubbing alcohol (isopropyl alcohol). Simply apply a small amount to a lint-free cloth, wipe down the area, and allow it to air dry for a few seconds.
Do NOT use soap and water, acetone, or general household cleaners, as these can leave residues that compromise the adhesive’s bond. A properly cleaned surface ensures maximum stickability, preventing your items from prematurely crashing down. This small but essential step makes all the difference in the longevity of your Command strip application.
Once your surface is prepped and dry, it’s time to apply the strip. First, confirm your desired position. Carefully peel the backing from the adhesive pad, ensuring you have the wall-facing side ready. Apply the pad firmly to the wall, making sure the pull tab is pointing downward, and press it in place for a full 30 seconds.
The next step is often where impatience can lead to failure: allow the adhesive to cure for one hour before hanging anything on it. This waiting period is critical for the adhesive to form a strong bond with the wall. Skipping this vital hour significantly weakens the strip’s hold, increasing the likelihood of your item falling.
When it’s time to remove a Command strip, whether it’s been up for minutes or years, the process is straightforward if done correctly. Grab hold of the pull tab and gently stretch it slowly and steadily downward, parallel to the wall. Continue stretching for at least 12 inches until the strip completely detaches from the surface.
Patience is key during removal; resist the urge to pull outwards or rip the tab, as this can damage your wall or leave adhesive residue. A slow, continuous stretch allows the unique adhesive to release cleanly, leaving your wall perfectly intact. Master this technique, and you’ll never fear redecorating again.
For those times when Command strips aren’t quite enough for heavier items like large mirrors or significantly weighted frames on drywall, consider the 3M CLAW. These specialized metal hooks are designed to dig securely into plaster, supporting up to 65 pounds. While they do leave small marks, they install easily by hand pressure and only require a flat-bladed screwdriver for removal, offering a robust alternative for truly heavy-duty hanging.
Source: ZDNet – AI
