As a daily user of my MacBook Pro for everything from writing fiction to preparing articles for ZDNET, I rely on a highly efficient setup. While macOS is incredibly user-friendly right out of the box, I always make a few essential tweaks to optimize my experience. These personalized adjustments significantly enhance my workflow, making every interaction with my Mac smoother and more intuitive.
Although these changes are personal preferences, I’m sharing them in hopes that they might also streamline your computing life. Let’s dive into the macOS settings I immediately change on every new Mac.
Enhance Your Navigation and Productivity
Did you know you can customize gestures on macOS to better suit your workflow? While the default options are somewhat limited, allowing changes for “Swipe between apps” and “Mission Control” in System Settings > Trackpad > More Gestures, true customization lies elsewhere.
For unparalleled control, I highly recommend investing in BetterTouchTool. This powerful application, available for a one-time fee of $15, lets you create custom gestures for almost any action imaginable. For example, I’ve set up a one-finger circular gesture to instantly open my app switcher, drastically speeding up my navigation.
Hot Corners are a fantastic way to trigger actions by simply moving your cursor to a screen corner, making your desktop incredibly efficient. I’ve configured mine for immediate access to key functions: top-left reveals all application windows, bottom-left activates Mission Control, top-right opens my Apps folder, and bottom-right displays the Notification Center.
While you’re somewhat limited in the actions you can assign, these quick triggers can significantly boost productivity once you get accustomed to them. Just remember to avoid accidentally triggering them when you don’t intend to. You can easily set up your Hot Corners in System Settings > Desktop & Dock > Hot Corners.
Optimize Keyboard and Trackpad Interaction
It’s always a mystery to me why Apple doesn’t enable “Tap to Click” by default on macOS trackpads. This simple setting makes a world of difference, offering a much more efficient and comfortable way to interact with your MacBook.
Instead of physically pressing the trackpad, which can be awkward, especially when using your laptop on an unstable surface like your lap, a gentle tap registers as a click. For me, it ensures every click is instant and reliable. You can quickly enable this indispensable feature in System Settings > Trackpad.
When you hold down a key on your keyboard in a text field, it automatically repeats the character or action. macOS allows you to fine-tune both how long you need to hold a key before it starts repeating and how quickly that repetition occurs.
By default, the “Key repeat rate” is quite fast, and the “Delay until repeat” is set to a moderate pace. I prefer the default repeat speed to avoid over-deleting, but I always shorten the delay, as my quick typing style benefits from an immediate repeat action. Experiment with these settings in System Settings > Keyboard to find what feels most comfortable and efficient for your typing habits.
Refine System Information and Interface
Many Mac users are unaware that they can display the exact battery percentage directly in their top bar, providing a much clearer indication of remaining power than a tiny icon. This small change is incredibly useful for proactively managing your battery life and avoiding unexpected power loss.
I always enable the battery percentage on my MacBooks, not just for awareness, but also to practice good battery hygiene. I aim to keep my battery charge between 20% and 90% whenever possible, which helps prolong its overall lifespan. You can enable this vital indicator by navigating to System Settings > Menu Bar > Battery > Battery Options.
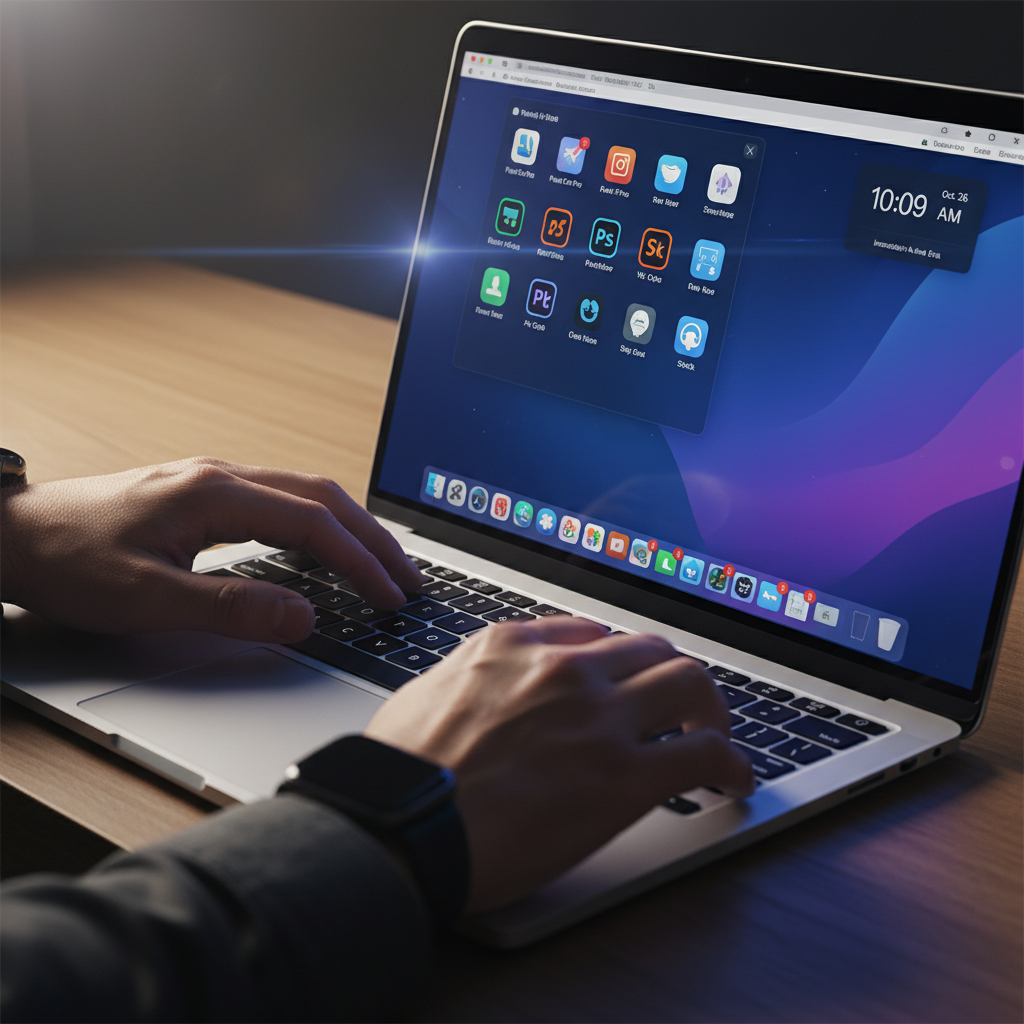
For me, a cluttered desktop and an overloaded Dock are major distractions that hinder productivity. I embrace a minimalist aesthetic, avoiding desktop icons for launching apps or files and keeping my Dock as streamlined as possible.
An overly crowded Dock makes it harder to quickly locate the applications I need, wasting precious time. To combat this, I remove all launchers from my Dock that I don’t frequently use. With macOS’s powerful app launcher readily available, every application is still easily accessible without the visual noise of an overwhelming Dock. Simply right-click (or two-finger tap) any icon, select Options, and then “Remove from Dock.”
Source: ZDNet – AI